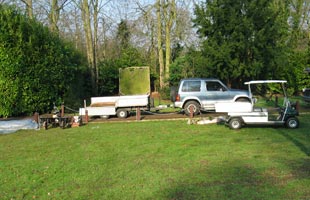
 | | Selecting the location of your practice facility is crucial to maximise the functionality and aesthetic appearance of your garden. |
|
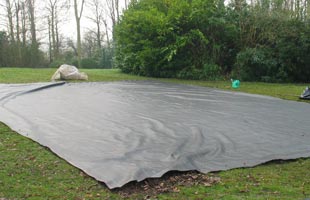
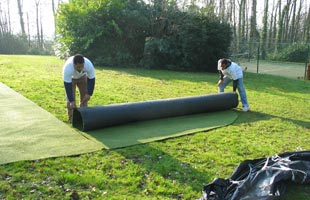 | | Roll out the surface and cut to the required shape e.g. kidney, double kidney, circle etc. |
|
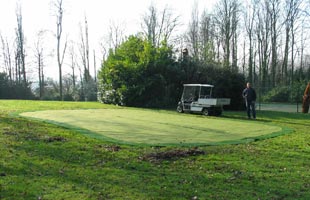 | | Once the surface is shaped, spray paint around the putting green leaving a gap of between 12� and 18�, this is the area to be excavated. |
|
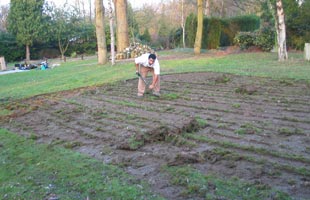 | | Carefully roll up the putting green and begin the excavation to a depth of not more than 3�. |
|
 | | Place a weed barrier over the excavated area to prevent weeds and grass from growing. |
|
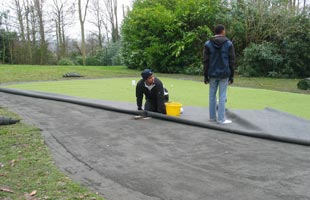
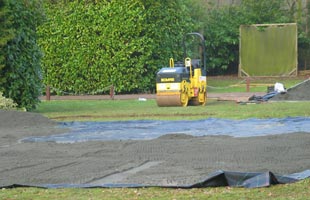 | | Fill in the excavated area with �type 1� aggregate and compact the area thoroughly, there shouldn�t be any movement in the base. Then apply the top layer of �grano dust� to give the area a smooth finish. |
|
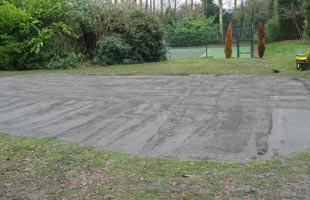 | | The base should have a smooth appearance; you should not be able to see any dips or troughs. |
|
 | | Roll the surface back into position and roll a ball in every possible direction to ensure the surface is playing true. The slightest imperfection will cause the ball to skip or bobble. |
|
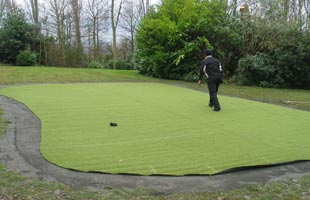
 | | Inserting the cups is done after the base is complete. |
|
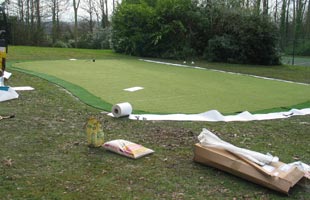 | | This stage of the installation is seaming and involves the joining together of the putting surface and fringe. |
|
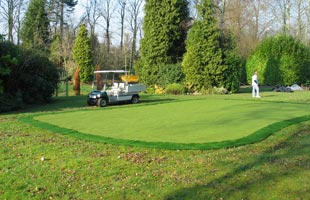 | | And the end result is a stunning feature in your garden that is sure to make you the envy of all your friends. |
|